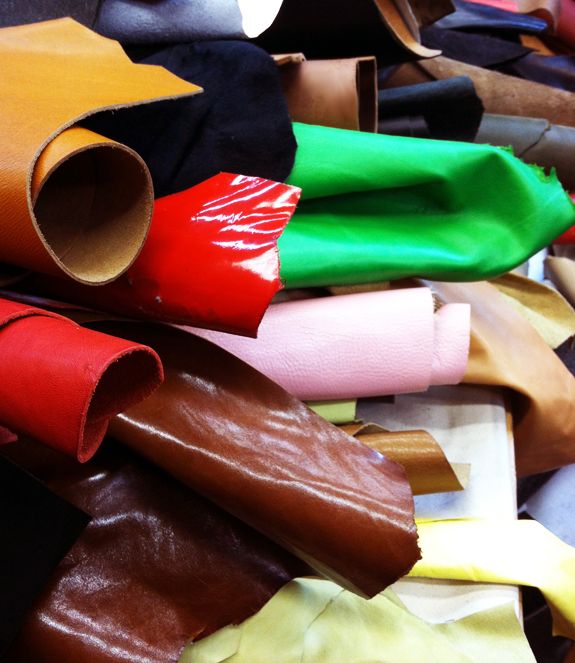
I'm forever losing my keys in my bag, so I decided it was time to make a keychain. I love the look of leather tassels on keychains - it feels expensive and chic. Luckily you can make your own for less than $10, even when using really high quality products. Here's how:
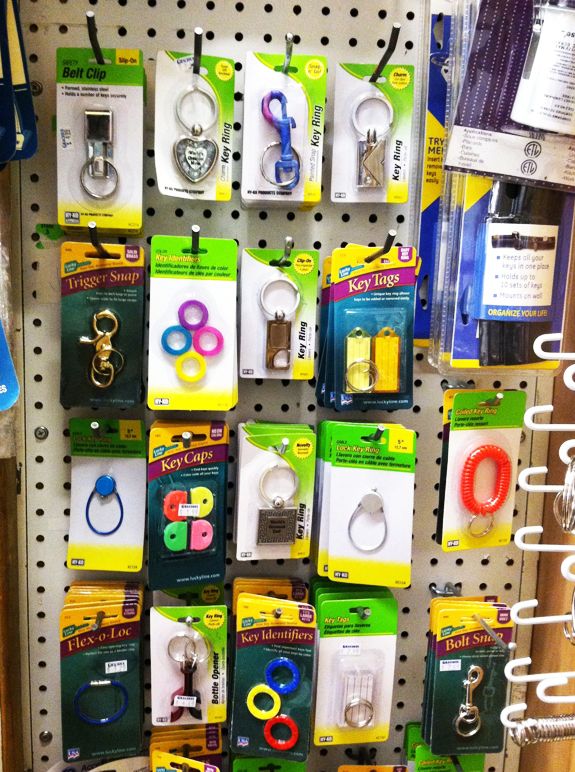
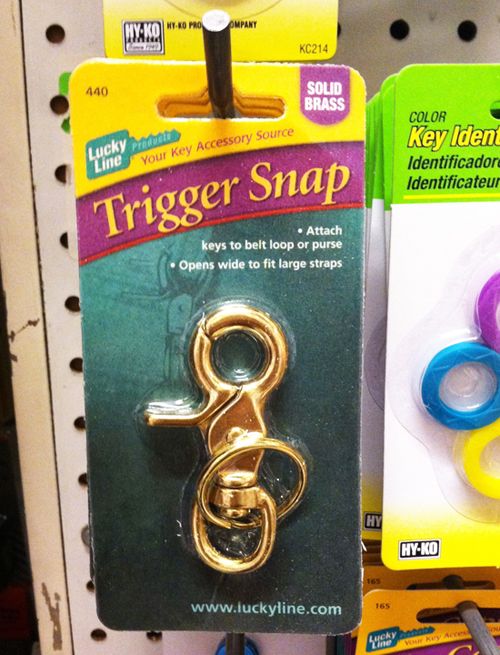
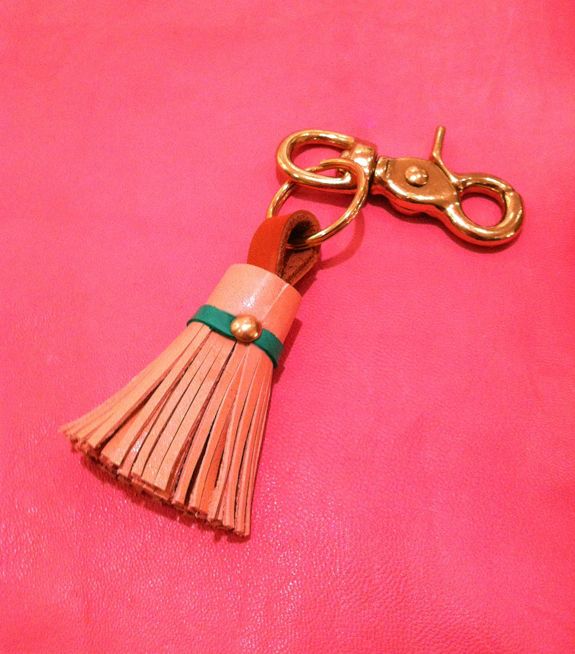
You'll also want to grab a pretty key chain for your new tassel. I'm obsessed with brass, so I found a solid brass option at Gracious Home for about $5 that I really love.
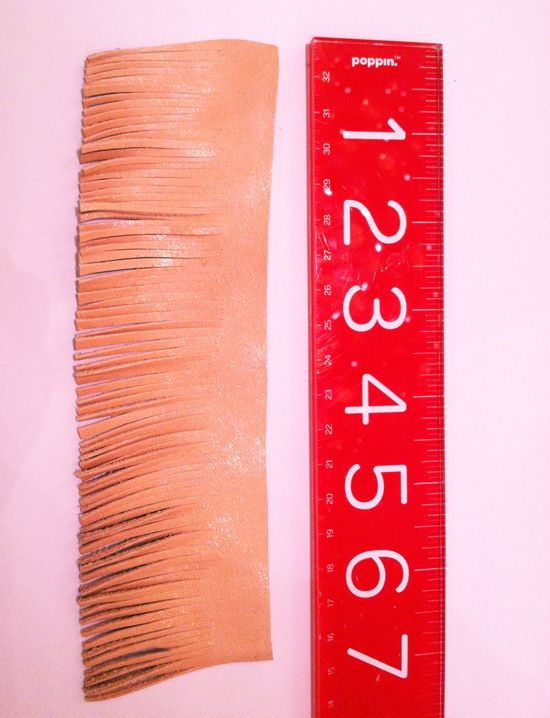
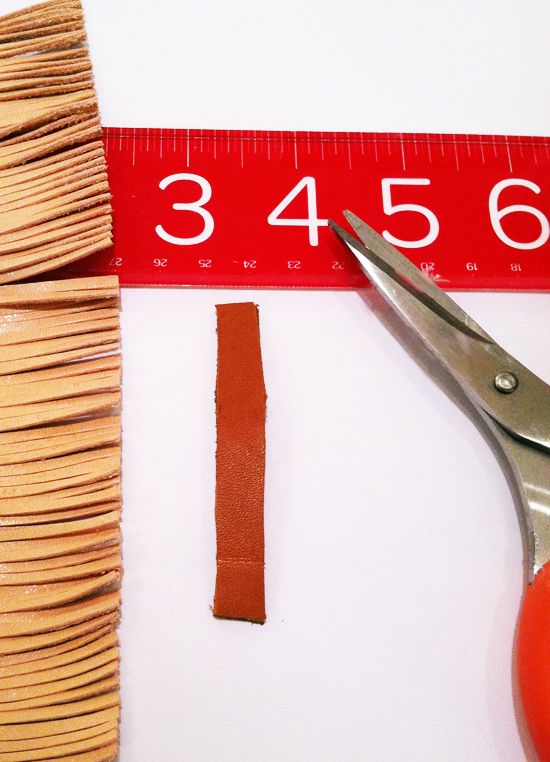
To make the actual tassel, just cut a piece of leather into a 3"x7" rectangle, though you can make yours as short or as long as you like. Then using a heavy duty scissor (I used kitchen shears), cut fringe into the leather, leaving about half an inch uncut. My fringe pieces were teeny tiny and I totally recommend going that route rather the fat, stiff widths. Try to be uniform in the widths, but it's not a huge big deal if the fringe is not all exactly the same size.
Next, cut a 1/2"x3" piece of thicker leather. This will be your tassel's tab top. I used a darker, contrasting leather for some color interest.
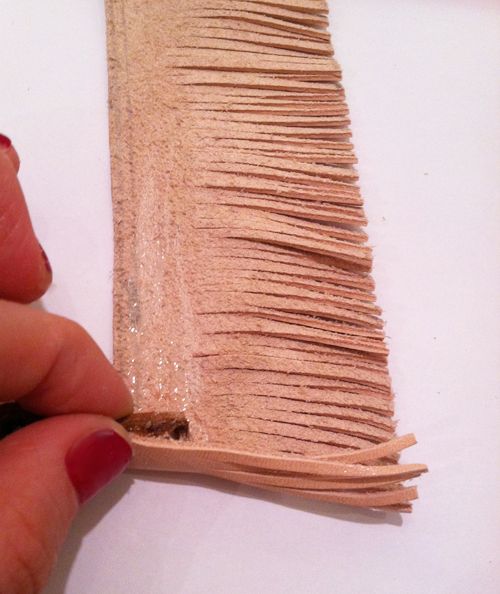
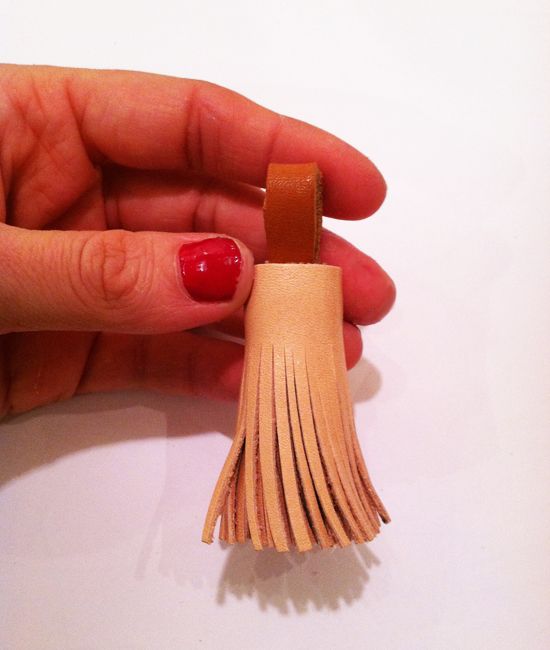
To assemble the tassel, simply fold the tab top piece in half and glue the very ends with Magnatac to create a tab or loop for your key ring. Then lay down a thin layer of Magnatac on the inside of your fringed leather. Tightly roll your tab top inside the fringed leather. You'll want the tab to be sticking out about 1/2"-3/4".
Keep lightly gluing while tightly rolling.
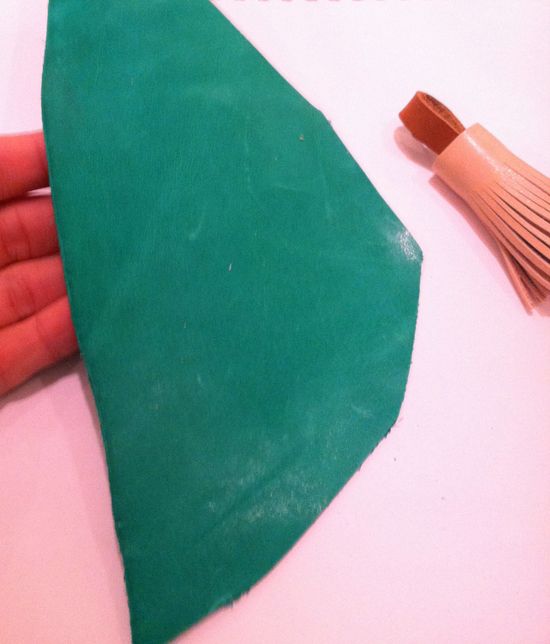
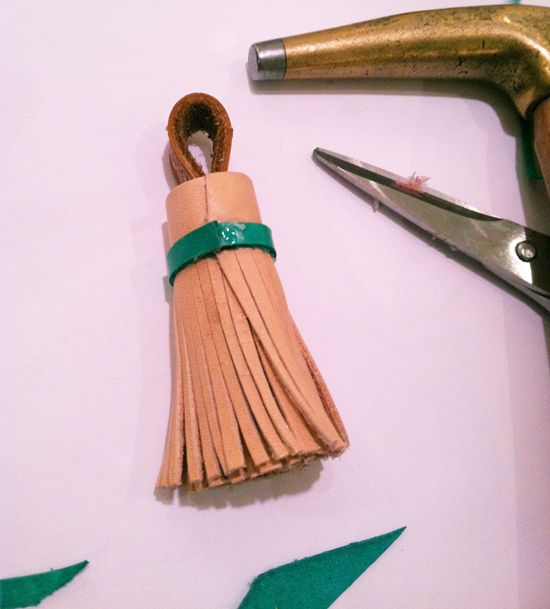
I used a scrap of kelly green leather to make a little belt trim for my tassel.
I just cut a little piece and glued it around the tassel. I love the pop of color, but it also really helps to cover up any inconsistencies in my fringe-cutting.
I tapped in a mini brass nail head to secure the ends of the rolled leather (you'll want to use the really small nails that are just over 1/4" diameter - this site sells them, but I would check your local hardware store first). I love how the little shiny bit helps the tassel look less DIY.
And that's it! This takes only about 15 minutes to make. I've been enjoying mine for a couple weeks now and at least a dozen people have asked where I bought my tassel keychain. Success!
So cute! I have seen leather scraps in a local store and wondered what on earth anyone would do with them. Thanks for the great idea.
ReplyDeleteSuch a great DIY. Love the little belt detail.
ReplyDeleteLooks easy and very chic! I will give it a try. I made a long tassel for my purse last winter and clipped it on the handle for a little flair...but I did mine with leather lace (the kind on a spool) and made it like a yarn tassel. I did not think of cutting and rolling. Great post!
ReplyDeleteLooks easy and very chic! I will give it a try. I made a long tassel for my purse last winter and clipped it on the handle for a little flair...but I did mine with leather lace (the kind on a spool) and made it like a yarn tassel. I did not think of cutting and rolling. Great post!
ReplyDeleteHow clever! Now you have a great gift idea for a little something to give your friends or the kid's teachers!
ReplyDeleteCathy @ Room Rx
you are so CREATIVE!!! LOVE!
ReplyDeleteBethany
http://powellbrower.blogspot.com/2011/12/lesson-learned-sofas.html
Love it Jenny. Smiling because if I turn to my left I am looking at leather scraps that I picked up at SAS a couple of weeks ago and make necklaces. In fact I can smell them as I type. If you are here for the holidays then I'll go on a date with you..
ReplyDeletexoxoxo
This is a cute one;)
ReplyDeleteA great DIY idea!
Lovely greetings...
http://pudel-design.blogspot.com/
These would make great stocking stuffers! I need one for my bottomless diaper bag!
ReplyDeletei love this idea!
ReplyDeleteoff to pin it on my pinterest board...
This is why you're awesome. It looks so good!
ReplyDeleteOoooh make me one if you have another 15 minutes to spare! Really genius!
ReplyDeletexo xo
Really nice! The details really make the difference. It will look even better as it gets banged around and ages some. I'm bookmarking it for my to-do list in 2012. Thanks.
ReplyDeleteyou really have the best diy's. Thanks!
ReplyDeleteLove this! I suspect they'll be selling on Etsy soon enough!
ReplyDeleteHow easy and it does look original. What a good idea as always!
ReplyDeleteWhat a great idea! I think this one will have to go in the "things to make for gifts" file. Thanks for sharing!
ReplyDeleteSo clever!
ReplyDeleteYes! I was just wondering how easy it would be to DIY this after seeing this pin... http://pinterest.com/pin/50876670760118695/
ReplyDeleteThe details are a little different, but I love the look. This will be a fun post-holiday project I think!
This is a cool idea to use up my scrap leather on. I actually have some pre-cut fringe I have been wondering what to do with. Sweet! Would make a great stocking-stuffer for my mom or sister too.
ReplyDeleteThis is a cool idea to use up my scrap leather on. I actually have some pre-cut fringe I have been wondering what to do with. Sweet! Would make a great stocking-stuffer for my mom or sister too.
ReplyDeleteHow stinkin' cute! So much fun, thanks for sharing this!! www.bluebonnetsforsal.com
ReplyDeleteLove this!! I've been wanting one of these for a while. Great DIY!
ReplyDeleteI'm not very craft, but iz think I could handle this one. Cute!
ReplyDeleteWhat a cute DIY!
ReplyDeleteThis is great! Funny bc I was just at American Apparel admiring their leather key chain straps (they're $10 but yours looks fancier) and I thought that would be a fun DIY! Thanks so much for sharing! -BOO
ReplyDeleteFYI-I was just at Hobby Lobby today and they sell leather fringe trim (near the ribbon)for
ReplyDelete$2.99/yard in case you didn't want to cut it all yourself!
This is such a cute DIY! It looks perfectly professional :)
ReplyDeleteAya ♥ Strawberry Koi
that is rad! thanks for sharing. i'm making these as christmas gifts.
ReplyDeleteThis is a great idea! I came across its much pricier cousin today here -- in case anyone wanted even more justification for making your own customized versions.
ReplyDeleteMuch less expensive than the Hermes one I was looking at the other day!
ReplyDeleteAdorable!! I've been debating back and worth on a few different DIY keychain ideas, but I LOVE this one! Thanks for sharing, I'll be sure to try it out!
ReplyDeleteI made one, but didn't want to buy glue. I used what I had and it didn't stick. I redid it using a staple gun and it worked. I used upholstery tacks. They are cheap at hobby lobby and hardware stores.
ReplyDeleteI actually just finish making one (: Played around with the measurements until I was satisfied and I LOVE IT!! So cute. Thanks a lot for this idea.
ReplyDelete